The Microsoft Login Control can be used for both online and on-premises environments. We recommend using this option if you are connecting to an on-premises environment. While this is quickly becoming a legacy style deployment in the age of Office 365 and Azure you may need to run reports against an older environment. In the new Connection dialog select the Microsoft Login Control method.
If you are creating a connection for the first time navigate to the status bar area in the bottom left of the application window. It will say the words “Not Connected” in the status bar area. Click on this and select the Create new connection menu option.

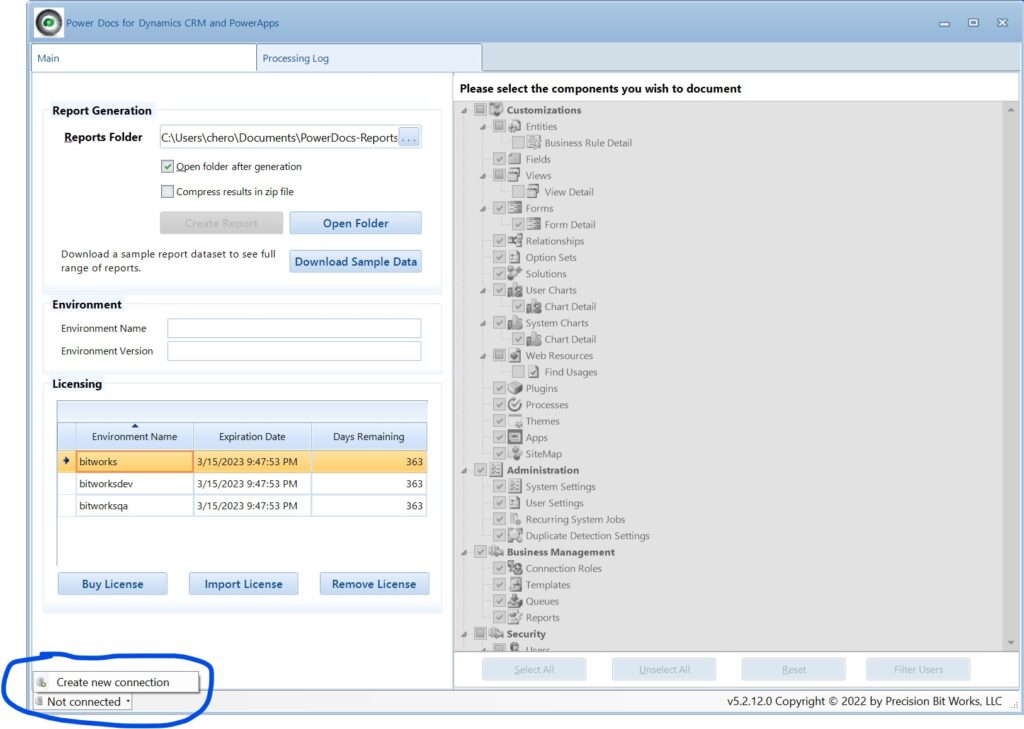
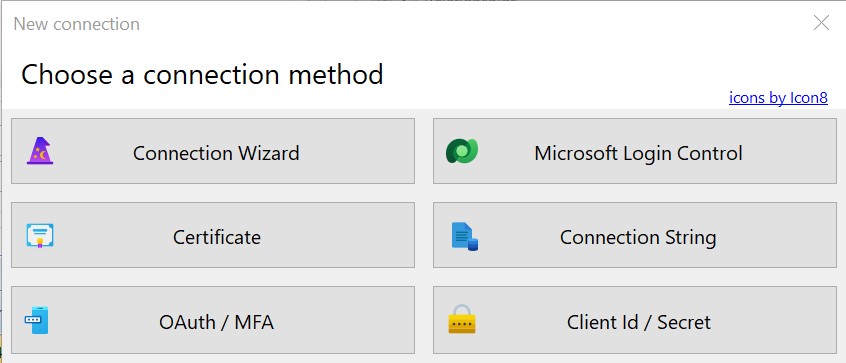
After making this selection you will see the New Connection dialog showing you the list of available connection options. Click on the Microsoft Login Control button to continue.

Now that you have clicked on the Microsoft Login Control you will see the dialog change to display an option for “Use default configuration” and “Provide your own details for OAuth (Required only for IFD on ADFS 4.0+)”.

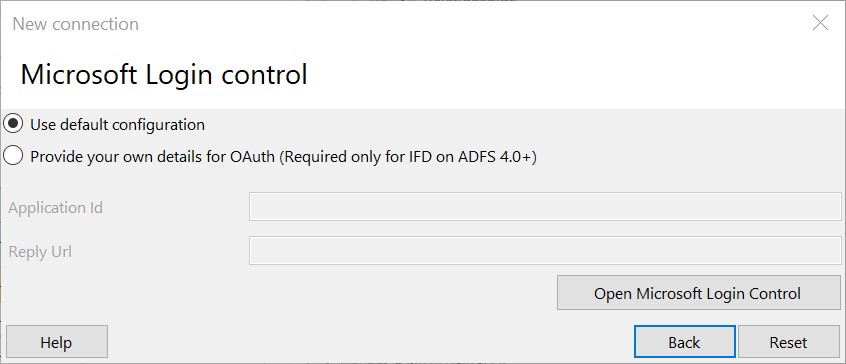
If your on-premises deployment is configured as an IFD (internet facing deployment) you will need to select this option otherwise continue with the default configuration option. If you find that your connection is not successful, and you don’t know if your environment is deployed as an IFD then you will need to contact your system administrator for further information for the required Application ID and Reply URL parameters. Now that you have select the appropriate option click on the “Open Microsoft Login Control” button which will display the login dialog where you will need to provide the necessary parameters for your system.

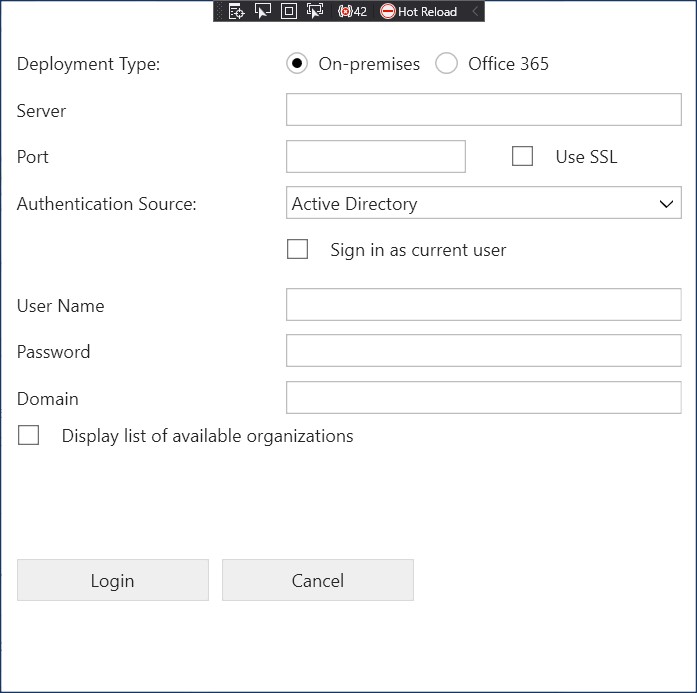
If you are a non-technical user or you are not familiar with your environment’s server address, port and authentication source you will need to contract your system administrator to get the necessary information needed.
Note: Since we are not making a connection to a specific environment (organization) in this authentication method it is advisable that you select the “Display list of available organizations” checkbox so that you can specifically choose your desired environment. There have been instances where not selecting this choose creates a connection to a default environment which may not be what you expect or want. If you see the list of environments to choose from then you have successfully authenticated. Select the environment you would like to connect to and continue.
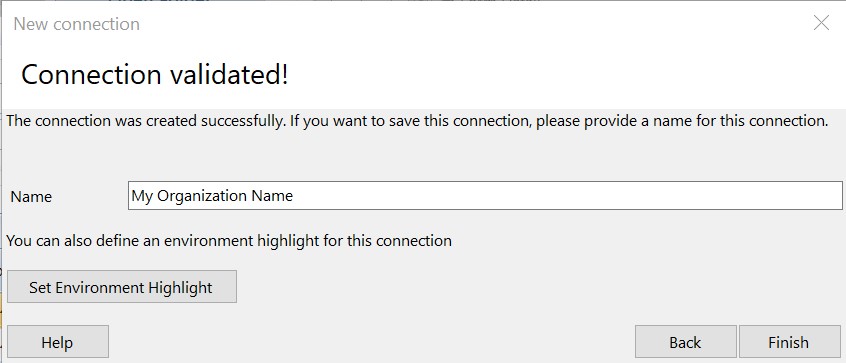
If everything has gone well hopefully you see the Connection validated dialog which will ask you for the name, you would like to use for this environment.
Note: It’s advisable that you include the environment type after the name such as (Dev), (Test), (Prod) so you can easily know which environment you’re connected to especially if you have running reports against multiple environment types. In this case we would name our connection “My Organization Name (Prod)”.
Most people simply use the name of the environment, but the name should ideally indicate the kind of environment such as development, test, production, etc. Once you click the finish button you are all set.

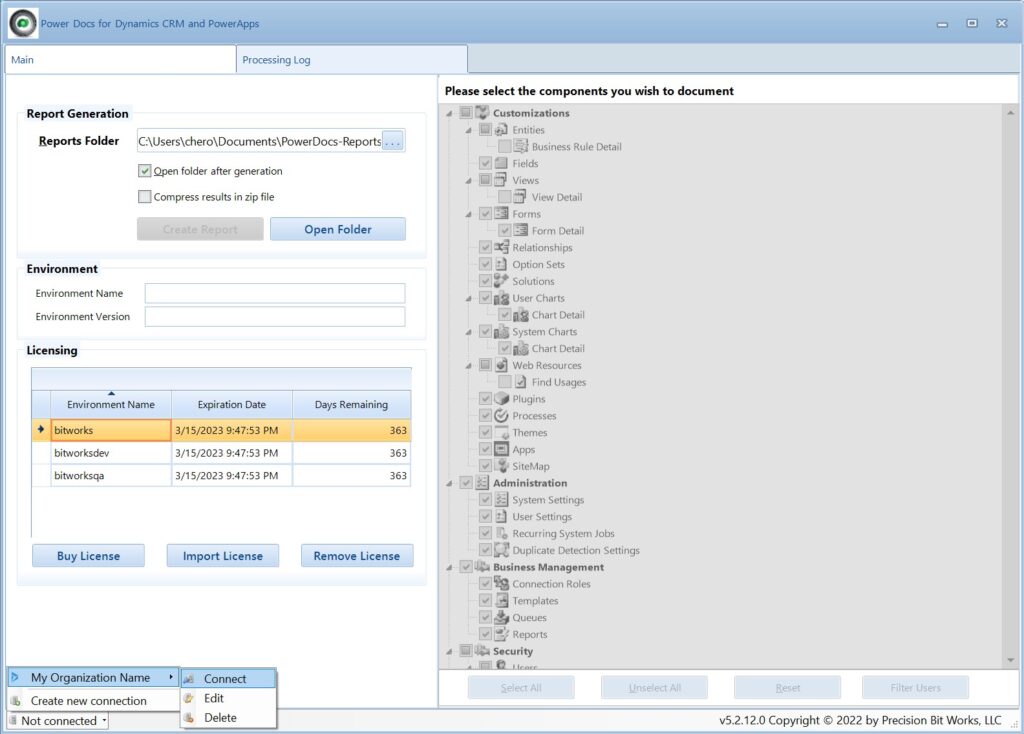
Now that you’ve created your environment connection navigate to the status bar in the bottom left where it says, “Not Connected” and click on the status bar button to show the menu that will display the name you gave to your environment. Hover your mouse over the name and then click on the connect menu option. Once the application makes a connection to your environment the documentation options window will turn white, and you should see the full list of reports you can run. If so congratulations. You are now ready to generate your system documentation.